
12 Steps to Make a Knife
In this article we describe the steps needed to make a beautiful and functional knife. This process is known as the stock removal process, and it differs from the process that blacksmiths do. Blacksmiths hammer the steel in a forge to shape the steel – doing step 1 and 2 below the traditional way.
STEP 1: Cut Out the Shape
The first step is to lay a template against an annealed metal bar that is the correct thickness. We use 3.2mm thick annealed 1084 high carbon steel bars. We then trace around the template with a marker pen and cut out the shape.
STEP 2: Refine the Shape
It is almost impossible to cut the shape out exactly, so some shaping with a belt grinder and Dremel tool is needed to get it line perfect. The annealed steel is relatively soft and easy to work at this point. We now have a formed knife blank.

STEP 3: Shape the Blade
This is the tricky bit; using a belt grinder we shape the blade. We start at what will be the edge and we gradually work up the blade towards the spine. We colour the blade black so we can see where we’ve been and achieve the consistency required. Different methods are used to achieved different plunge lines (the line where the blade meets the ricasso). The aim is to achieve a consistent bevel and a nice clean plunge lines on both sides of the blade. We start with a coarse grit belt and gradually move to up to a finer grit.
STEP 4: Drill Holes
Holes are drilled for the pins and lanyard hole, then additional holes are drilled to make the tang lighter. Additional steel is removed along the length of the handle with a grinder.

STEP 5: Hardening
The knife blank is heated to around 815C (1500F) in a furnace. At this point the metal has become non-magnetic. When it is at the right temperature and glowing a nice red/orange colour it is plunged into a large container of warm canola oil. This rapidly cools the knife blank, and the steel becomes very hard. We test the harness at this point. The steel is now very hard, but it is not flexible. If it were to be dropped it could shatter.
STEP 6: Tempering
Immediately after the blank has cooled it is put into a pre-heated oven at 210C (410F) for 2 hours and allowed to cool. This is repeated a second time. The blade is now hard, and it has flexibility.
STEP 7: Clean and Refine
The blank is very dirty at this point, and it is covered in a black scale. This needs to be completely removed and the blade is refined and polished. The blade is then wrapped in tape to make it safe. The blank is thoroughly cleaned to get it ready for the handle.

STEP 8: Cut out the Handle
A template is laid against the handle material and traced with a marker pen. The handle shape is then cut out on a bandsaw and shaped with a belt grinder and Dremel tool. The knife blank is used to mark the hole positions and they are drilled to the same diameter as the pins ((typically 6.35mm (1/4 inch)). The pins are cut so they are slightly longer than the thickness of the assembled handle.
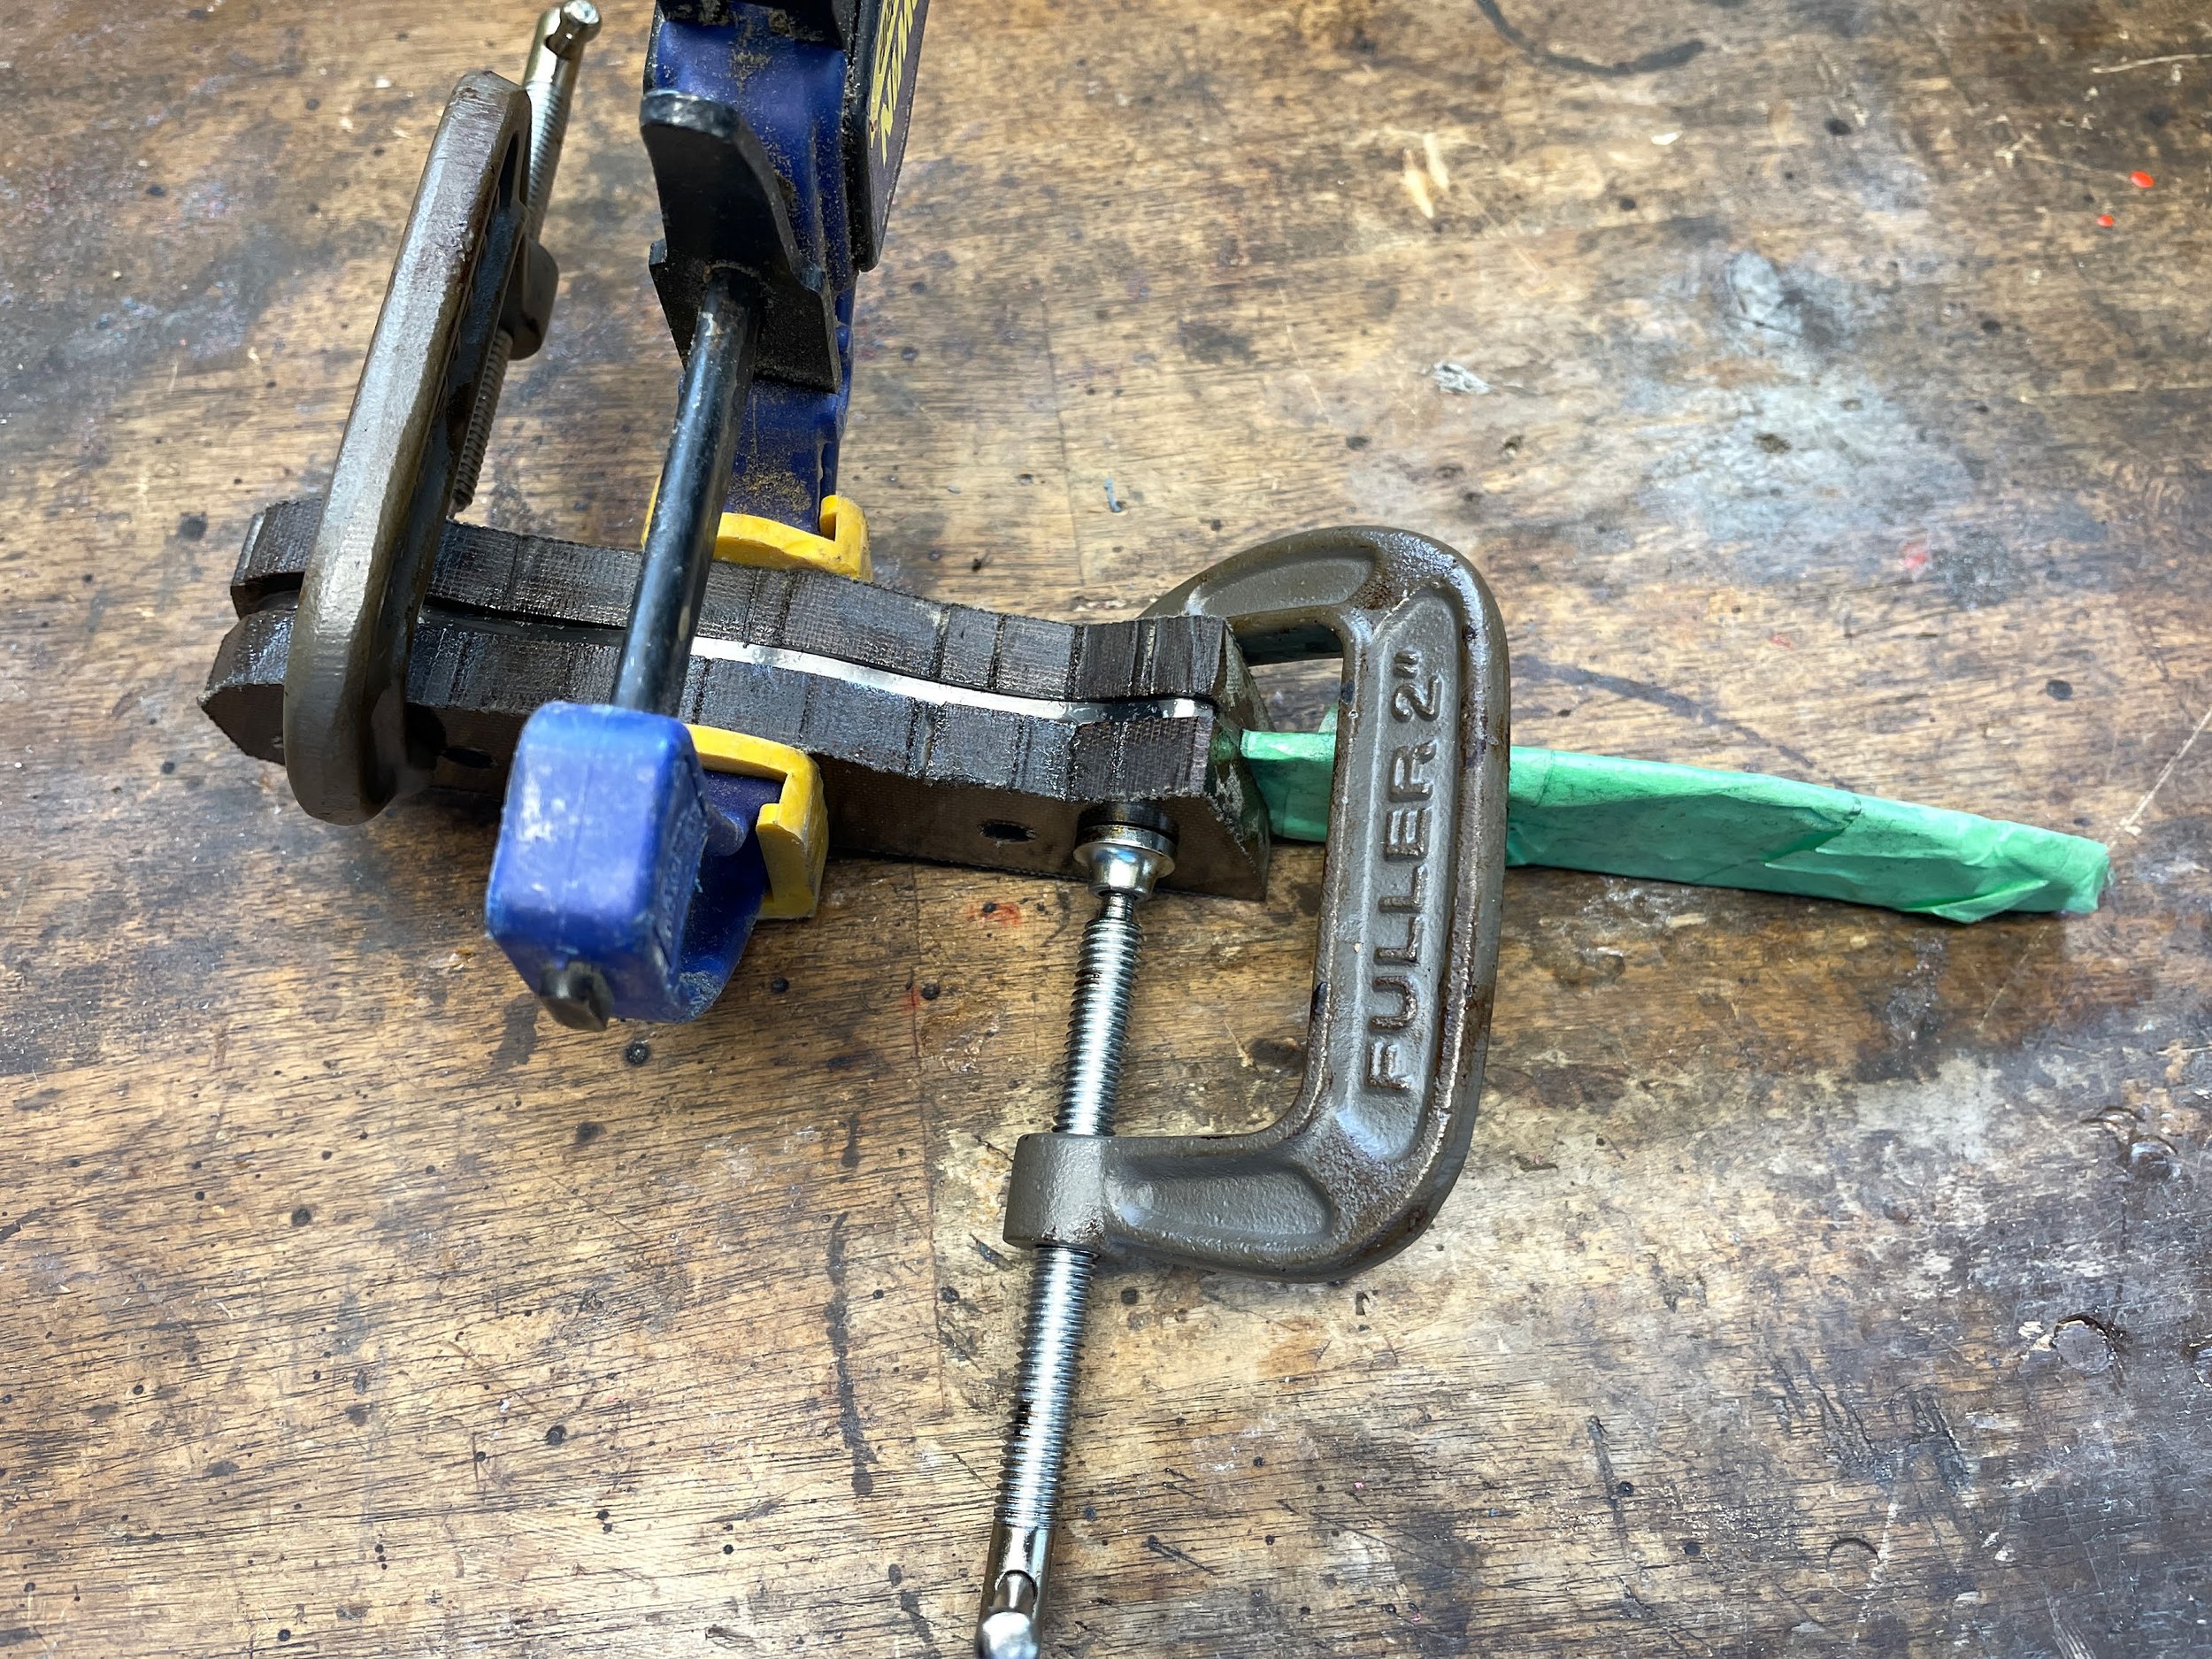
STEP 9: Glue the Handle
All handle surfaces and the pins are coated with a strong 2-part epoxy and the pins are coaxed into place. It is an extremely tight fit! The handle is then clamped in multiple places and left to cure for 48hrs. At this stage it can be hard to see how the conglomeration in front of you can end up being a beautiful knife.
STEP 10: Shape the Handle
Belt grinder, Dremel tool and sandpaper strips are used to shape the handle and to start refining it. A range of grits from coarse to fine are used to achieve this.
STEP 11: Finishing
This is a satisfying stage. Fine hand sandpaper ranging from 600 grit to 2500 grit is used to polish the blade and the handle. A lot of sandpaper is used. A coat of Danish oil (satin finish) or Tru oil (gloss finish) are applied to the handle to give it a nice finish.
STEP 12: Sharpening
The knife is then sharpened with a jig to the correct angle, which is typically 17 - 20 degrees, depending on the knife. Various diamond sharpeners from 200 to 5000 grit are used to get the perfect edge.
